

Checking your engine oil is vital to being a responsible and safe driver.
Your engine oil is essential because it lubricates and protects your engine from overheating and wear. Not to mention, having enough oil also helps to keep your car running smoothly.
Because monitoring your car’s oil level is essential, I prepared this guide on how to check engine oil so you’re not caught off guard.
Why Is It Important To Check Your Engine Oil?
Your engine oil needs to be changed every 3,000 miles or every three months (whichever comes first).
It may need to be changed more frequently depending on how you drive, how often you drive, the condition and age of your vehicle, and the external conditions you drive in.
Over time, your engine oil will become dirty and will no longer be able to protect your engine as effectively. This low oil level can lead to serious problems, such as engine failure.
Checking your engine oil is especially vital the older your car is because there is more wear on the engine, which burns off the oil more frequently.
But regardless of the age and state of your car, learning how to check your engine oil will save you from a dangerous situation or high repair costs.
How To Check Engine Oil
It’s important to know how to check your engine oil so that you can be a safe vehicle operator for yourself and others on the road, as well as save yourself time, money, and frustration getting your engine repaired at the shop.
Here’s how to check your engine oil:
Step 1: Get Your Vehicle Ready To Check
Make sure your car is ready to get checked safely. This means turning off your engine and letting it cool down for at least five minutes.
Fully park your vehicle on flat, level ground. Once everything has cooled, open the hood and prop it up using either the hood support or a broom handle.
You should be able to open it with the hood-release lever on the left side of the hood when facing the car. If you don’t know how to open the hood, review the car’s user manual or contact customer service.
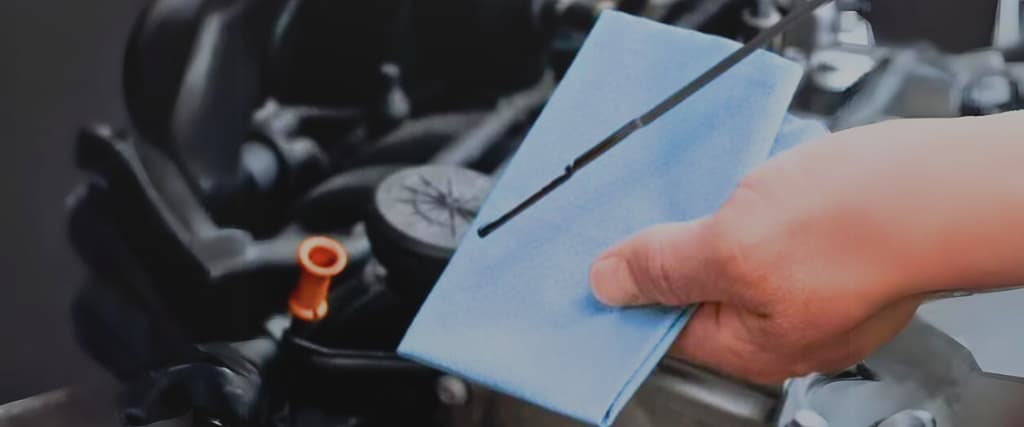
Step 2: Find the Oil Dipstick and Pull It Out
Locate your oil dipstick, a long, skinny metal rod with a handle on one end and a round tip on the other.
The dipstick will likely have “OIL” written on it in big letters and will be inserted into a tube. This tube is typically near the front-right or front-left side of the engine block.
Once you have found it, pull it out and wipe it down with a paper towel or an old but clean rag.
Step 3: Check Oil Level
Once you’ve wiped the stick, you will notice two lines at the bottom. The one closer to the bottom is typically called “Add,” and the one higher up is usually called “Safe” or “Full.”
These two lines will help indicate whether or not you will need to add oil or if you don’t need to take further action.
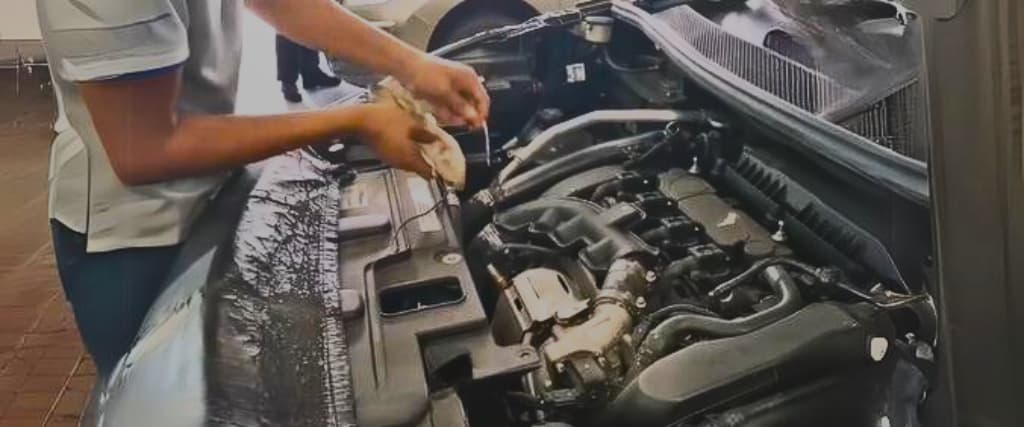
Now, it’s time to do the most important step: putting the stick back into the tube to check the oil level.
Insert the dipstick back into the tube gradually, and make sure you push it all the way down. Next, take it back out to inspect the tip of the dipstick.
If the oil marks fall somewhere in between the “Add” and “Safe” or “Full” lines, then you’re good to go. Otherwise, if it falls on or under the “Add” line, you must add a quart of oil.
Step 4: Recheck After Adding Oil
If you needed to add a quart of oil because the oil mark fell at or below the “Add” line, wait about 10 minutes to allow this added oil to make its way to the oil tank, otherwise called the “crankcase.”
Once you’ve waited for 10 minutes, repeat step 3 to recheck the oil. If the oil is now between the two lines on the end of the dipstick, you can safely operate your vehicle.
Frequently Asked Questions
Before spending what could be hours on the phone with customer service, please review answers to some frequently asked questions about checking cars’ engine oil.
Do you check the oil with a cold or hot engine?
It’s always best to check your vehicle’s oil when the engine is cold. This is because when the engine is hot, the oil will be thinner and will rise up on the dipstick more.
As a result, you may think there is less oil than there is and end up overfilling the engine, which can cause damage. Plus, you risk burning yourself while checking your oil.
What happens if I overfill my oil?
If you overfill your oil, it can cause damage to your car’s engine. The oil will get into areas where it doesn’t belong, such as the crankshaft oil seal or piston rings.
This can result in decreased performance, increased fuel consumption, and ultimately engine failure.
How do I know if I’ve overfilled my oil?
Besides rechecking your oil and seeing if it falls above the “Safe” line, your car might show various symptoms of an overfilled oil tank, including but not limited to
- Oil puddle beneath the vehicle
- Engine misfire or stalling
- Engine overheating
- Weak acceleration
- The smell of burning oil
- Strange noises while driving
- Higher oil pressure
What happens if I don’t have enough oil?
If you don’t have enough oil, it can cause damage to your car’s engine. Knowing you don’t have enough oil or “engine lubrication” is crucial to a well-functioning vehicle.
If you check your car’s engine oil and it indicates that you should add more, add a bit more oil — about a quart — and check again.
Should I check my oil when the engine is running?
You should never check your oil when the engine is running. This rule is for both safety and accurate measurement.
Final Word
Checking your car’s engine oil is a crucial part of being a responsible vehicle owner. You are a safer, more responsible driver now that you know how to check engine oil.
By checking it on a regular basis and adding oil as needed, you can help extend the life of your car’s engine and avoid costly repairs down the road.